Zia - 3D Character Creation Workflow - (Blender 2.91)
This post is not a tutorial, nor a step-by-step guide of how to create a character. This is just a handful of renders or screenshots I took along the way, to quickly go over some of the things I did while creating this character. For me this is a nice way to show the character creation process on Zia. I hope this can be useful or somewhat inspiring for other creators.
The biggest help in this whole process for me was the 'Stylized Character Creation in Blender' course from Julien Kaspar on the Blender Cloud. Learning from such an experienced and talented artist was truly a perfect way to quickly understand all the steps I had to take to create the character and learn about the technical things to prepare them for animation.
The idea was always to create a character for animation and to do it all in Blender. I have a little experience sculpting in Zbrush, but I wanted to create this character totally in blender, so I could also become more familiar with the software, since I'm primarily using Cinema 4D and Unreal Engine. That has changed a lot since a few months though. I'm using blender way more often than before, especially for it's UV editor.
This post is not a tutorial, nor a step-by-step guide of how to create a character. This is just a handful of renders or screenshots I took along the way, to quickly go over some of the things I did while creating this character.

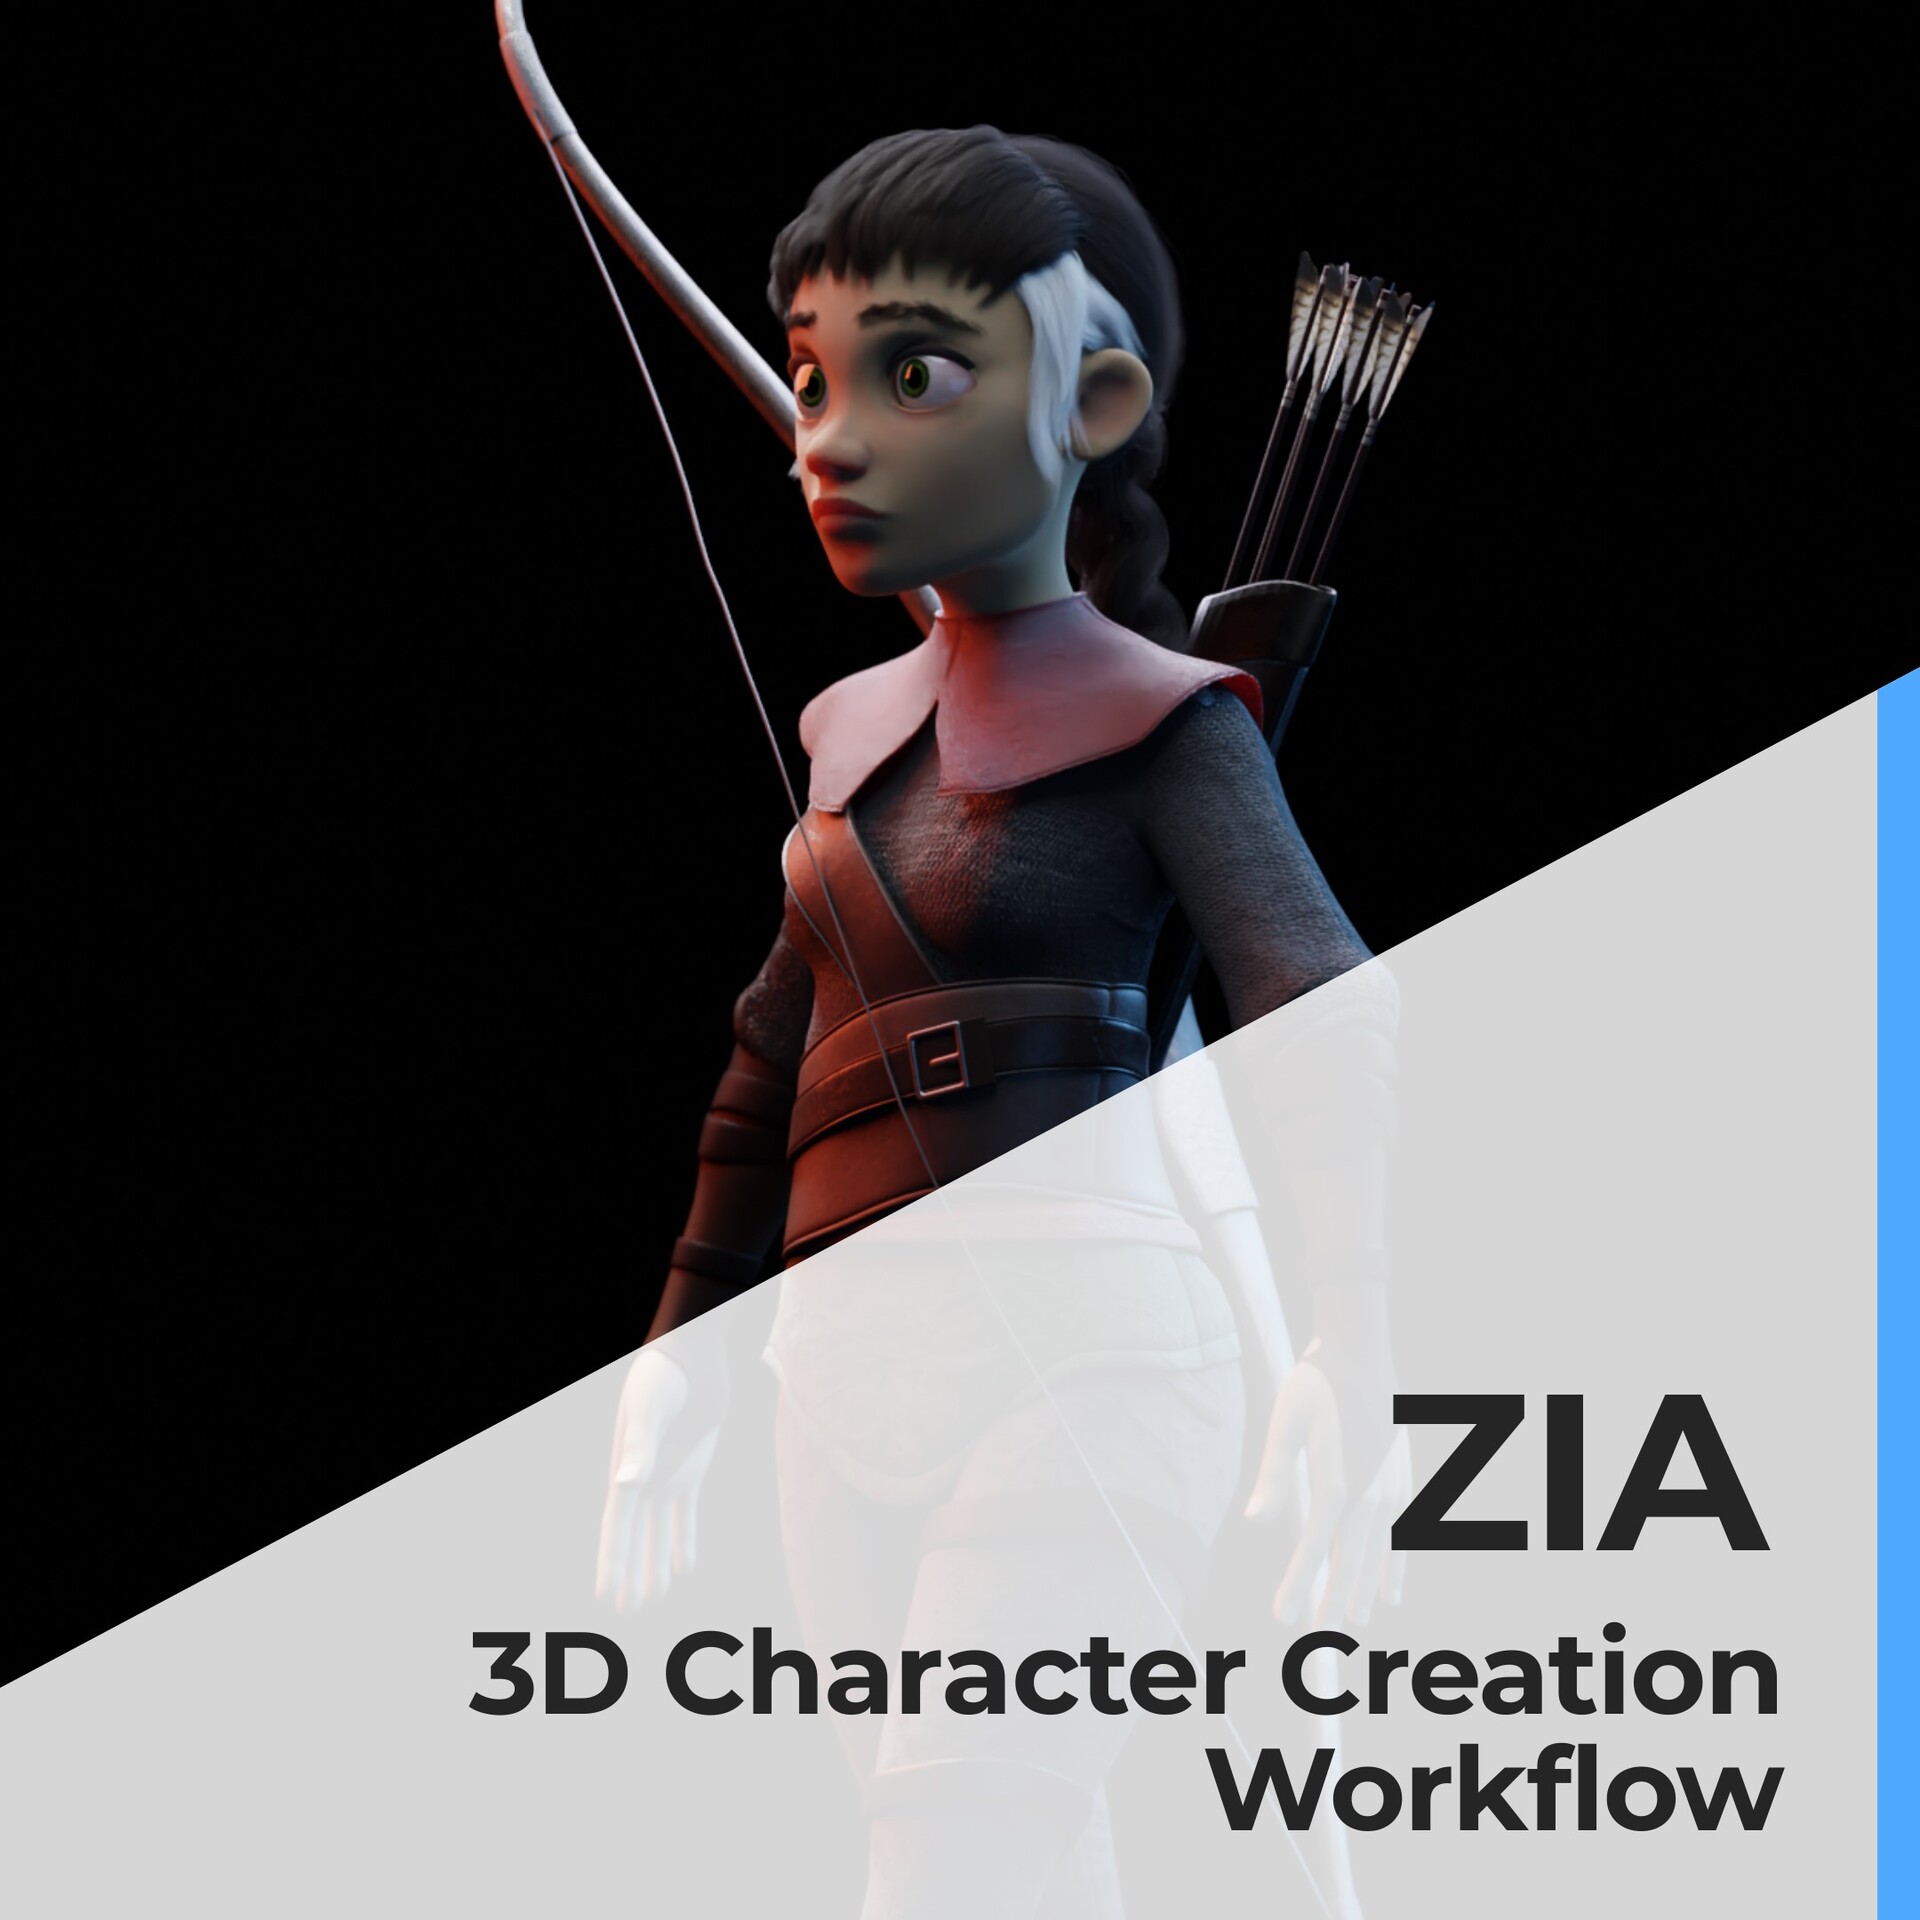
I'll start of with the end result of the whole character creation process: Zia in walking pose with bow and arrow and particle hairs, fully textured and lit.

I'll quickly throw in this one to say I learned all my sculpting techniques in blender from Julien Kaspar's course on the Blender Cloud. After sculpting this first bust, I started over again to create Zia's face with the new techniques that I'd learned.

This is the first Zia head sculpt. You'll see it changed over time while working on the character. There are still some things about this sculpt that I like (more). And in the future I'll try to keep original concept and finished head more similar.

Here I tried some different hairstyle for fun, even though I had a pretty strong Idea about what the hair should look like.

I then made a first render with cycles

As you can see in previous steps, I first vertex painted the color of the eyes AND the white highlight. After that I replaced the eyes with these new ones, without the highlight, because the highlight should come from actual light, not from the texture.

I then proceeded to sculpt the body and some basic clothes, just to see what the model looked like. In hindsight I should not have made the eventual outfit more complicated than this one, because later on I ran into problems with my rig.

I then made some renders with different colors to see what I liked best. The red one ended up being the one I liked the most.

I then replaced the hair with the look I wanted to go for, even though I was still thinking about some other colors.

I then made the Medieval/fantasy - outfit I wanted the character to have. As mentioned before I should have kept it more simple (especially as this is my first animated character), since the complexity caused some problems with my rig later on.

I then tried some different haircolors. I liked the white, but not all the way, and I also experimented with some red.

I also realised that white eyebrows were NOT the way to go, haha.

I then played around with the color scheme of the clothes, going for a more darker look...

...And finally settled on these colors. I added another scarf/armor-ish thing later on her shoulders, and once again, I should have kept it more simple since that and also the various belts around her waist, ended up causing the most problems.

Then came the retopology, which was by far one of the hardest parts of the process and also caused the most changes. I think by the end the face ended up being a little more round than in the first concept, but I'm still happy with it.

Here is a Clay render of the model, without any textures.

here is a wireframe render (done with eevee) of the model, so you can see the topology of the model after retopology.

Then comes the UV-unwrapping and mapping of the character so instead of only color, I could also provide the model of textures (fabric of the clothes etc.) Here I used a UV checker image so you can see the uv-unwrapped model.

Wireframe + UV

The unwrapping of the scarf/armour-ish thingy.

I then ended up with this retopologized and UV-unwrapped model, ready for rigging, with the added white locks of hair and the scarf/armor-ish thingy I mentioned earlier, to bring some more red back into the clothing color scheme.

Then came the rigging. I used the rigify add-on in Blender 2.91. The rigging was a big struggle and I learned a lot from it. It's definitely not my favourite part of the character creation process!

Side view of the rig in walking position.

Then came another frustrating and hard part of the process: the weight painting, to make sure the right parts of the model are sticking to the right parts of the rig. This is the part where I might have screwed up a little bit...

...because this part is not (yet) in the Julian Kaspar blender course (and neither is rigging) I kind of needed to figure this step out on my own.

I then finally ended up with a character that I could animate, but the clay hair was still bothering me, so before making the first walking cycle, I decided to edit that one last thing...

...and created this hair with particles. Both versions have their charm, but this was eventually the look that I settled for (and also made render times significantly longer.

I then modeled a bow and also stuck in to the rig (also caused some problems with the rig later in animation. And I then animated a walking cycle, which you can also find on my artstation.

After the walking cycle, it was finally time for animating something more...